Introduction
Medusa Cloud is a dedicated hosting service for Medusa-based applications. It automatically detects changes on your repository, pulls and builds the code, and provisions a database, Redis, and file storage. Head to the Medusa Cloud signup page to get started. After registration is complete and your account is active, authorize the Medusa Cloud GitHub app in your organization or personal account.Medusa Cloud only deploys the backend. The admin panel and vendor panel
must be deployed separately (for example, on Vercel, Netlify, or your own
infrastructure) and pointed at the deployed backend URL.
Prerequisites
- A Mercur project created with
@mercurjs/cliand pushed to a GitHub repository - A Medusa Cloud account with the GitHub app authorized
- API keys for any third-party services you plan to use (Stripe, Resend, Algolia, etc.)
Setup
-
From the Medusa Cloud dashboard, choose Import your existing repository into the Cloud (the Mercur project lives in your own GitHub repo, not in the bundled DTC/B2B starters).

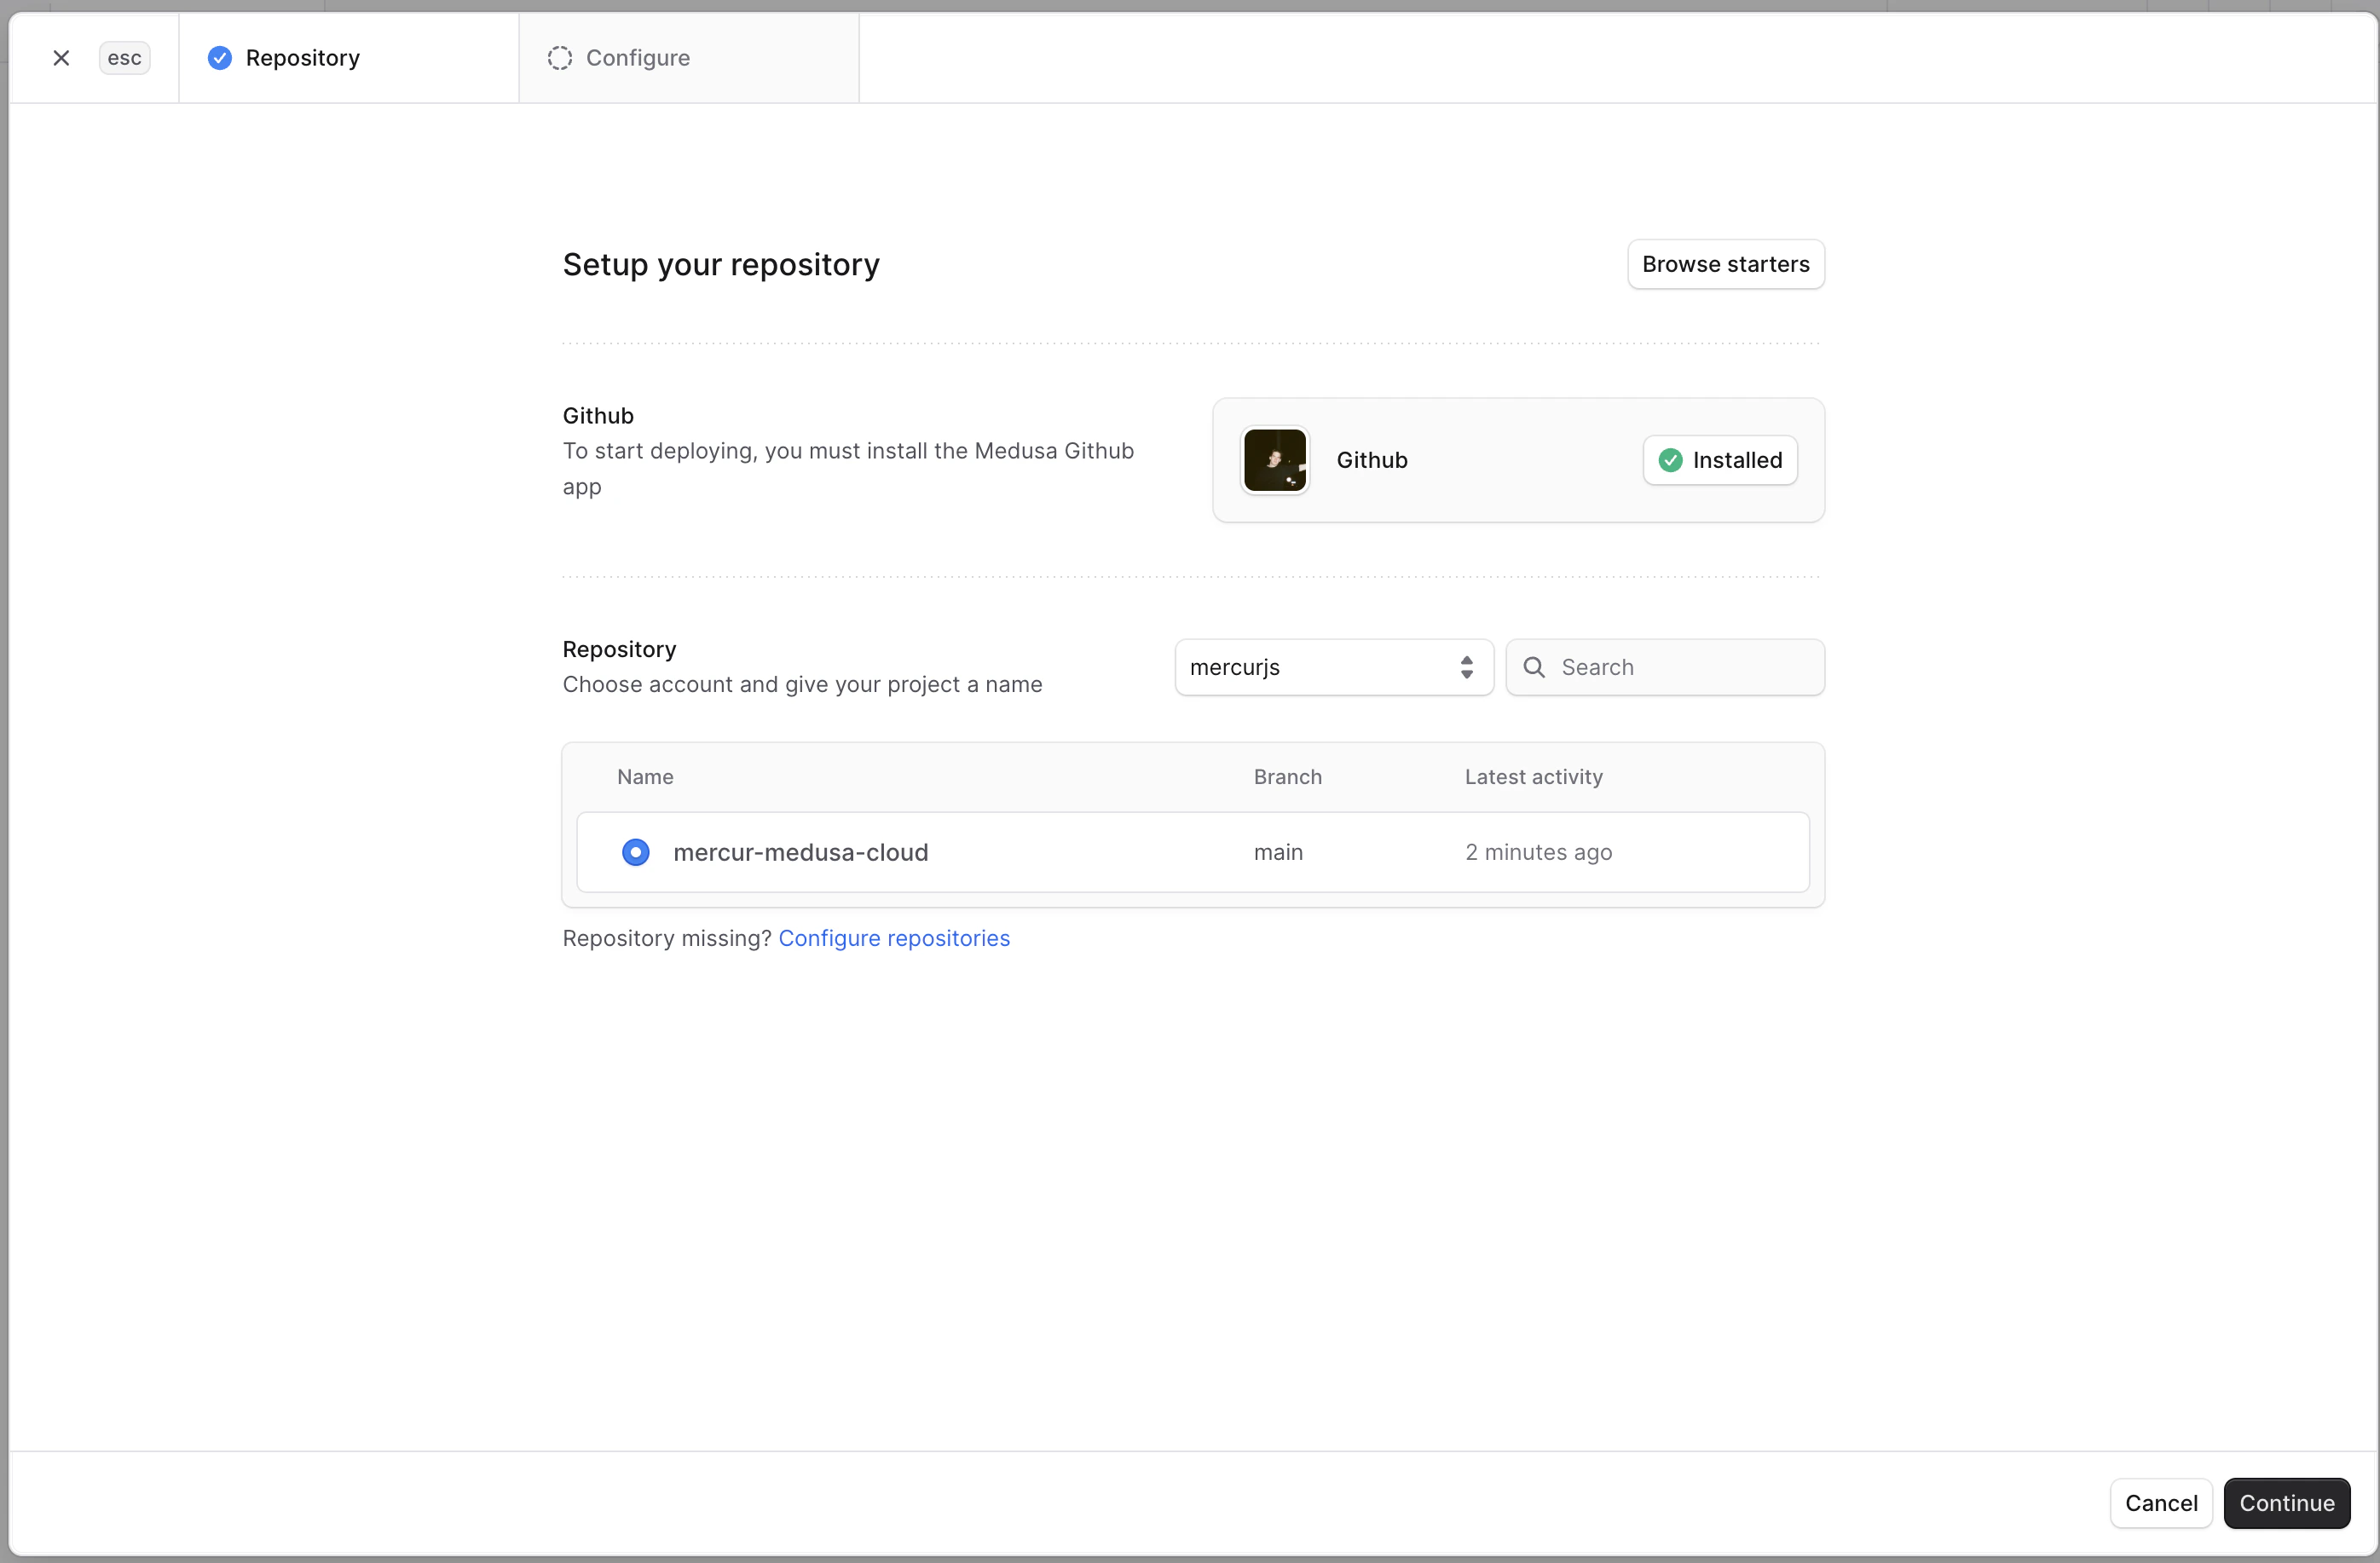
-
On the Repository step, make sure the Medusa Cloud GitHub app is installed, pick your Mercur repository from the list, and click Continue.
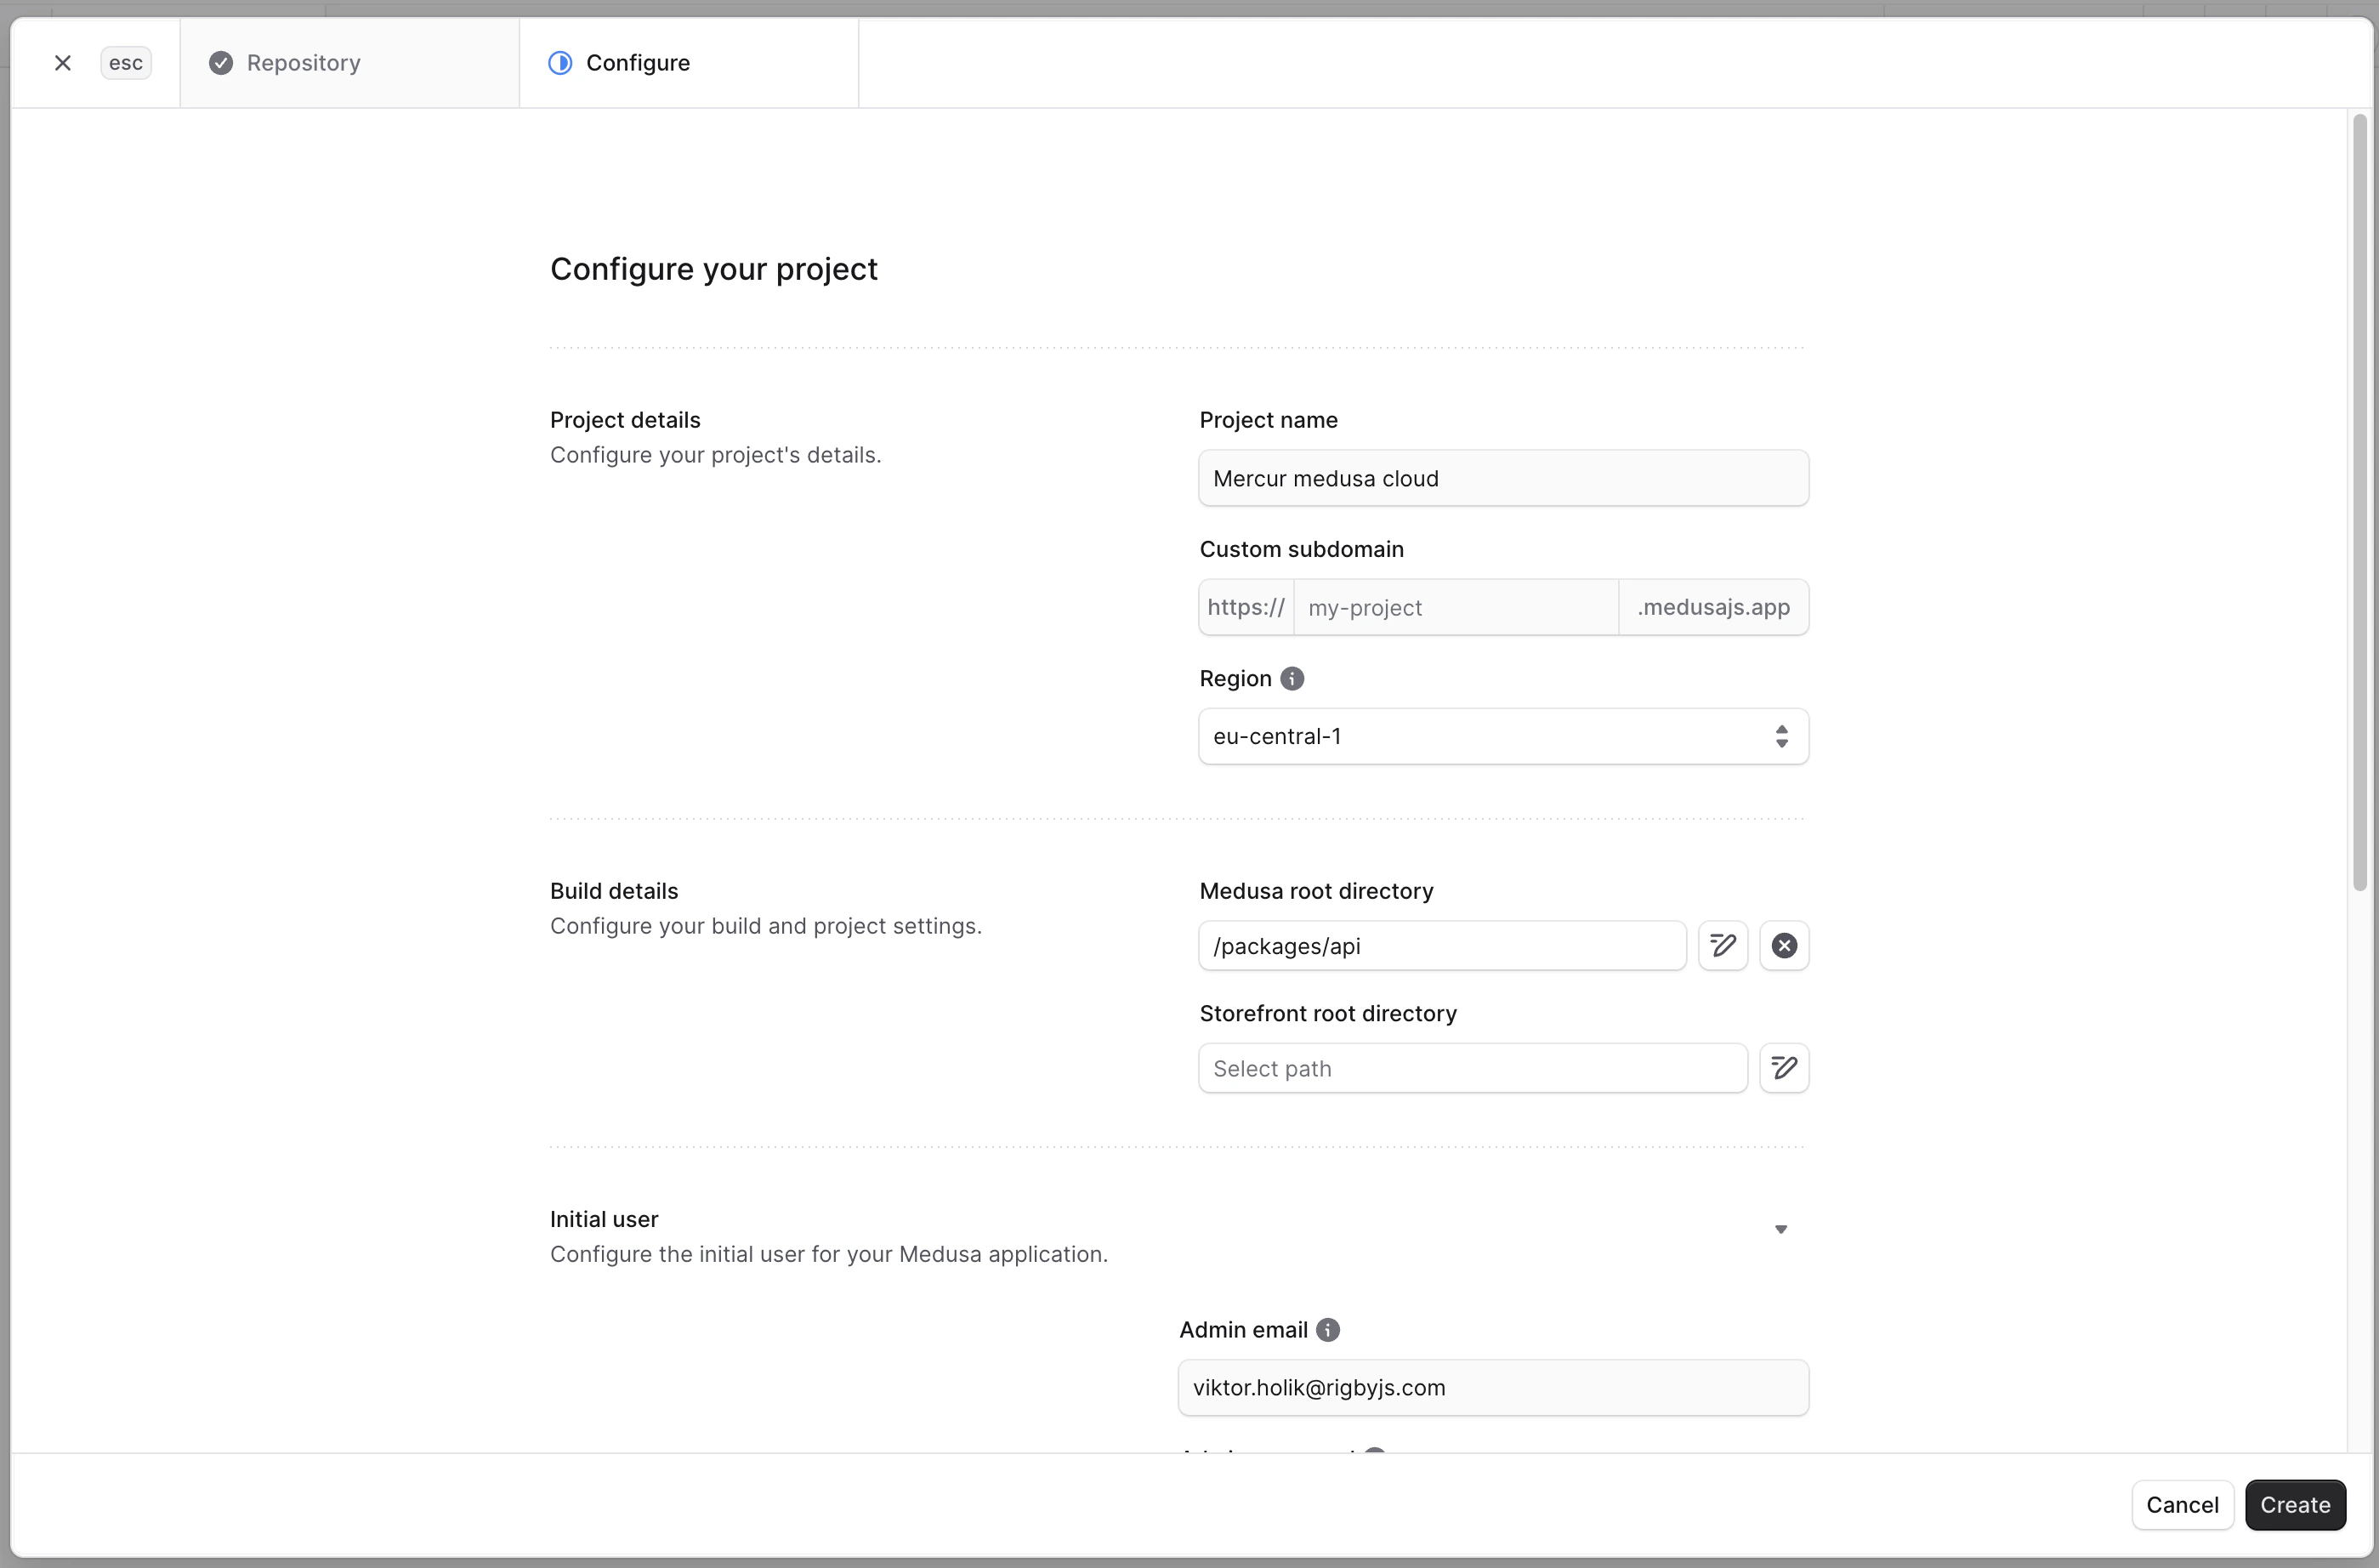
-
On the Configure step, fill in:
- Project name and Custom subdomain.
- Region closest to your users.
- Medusa root directory:
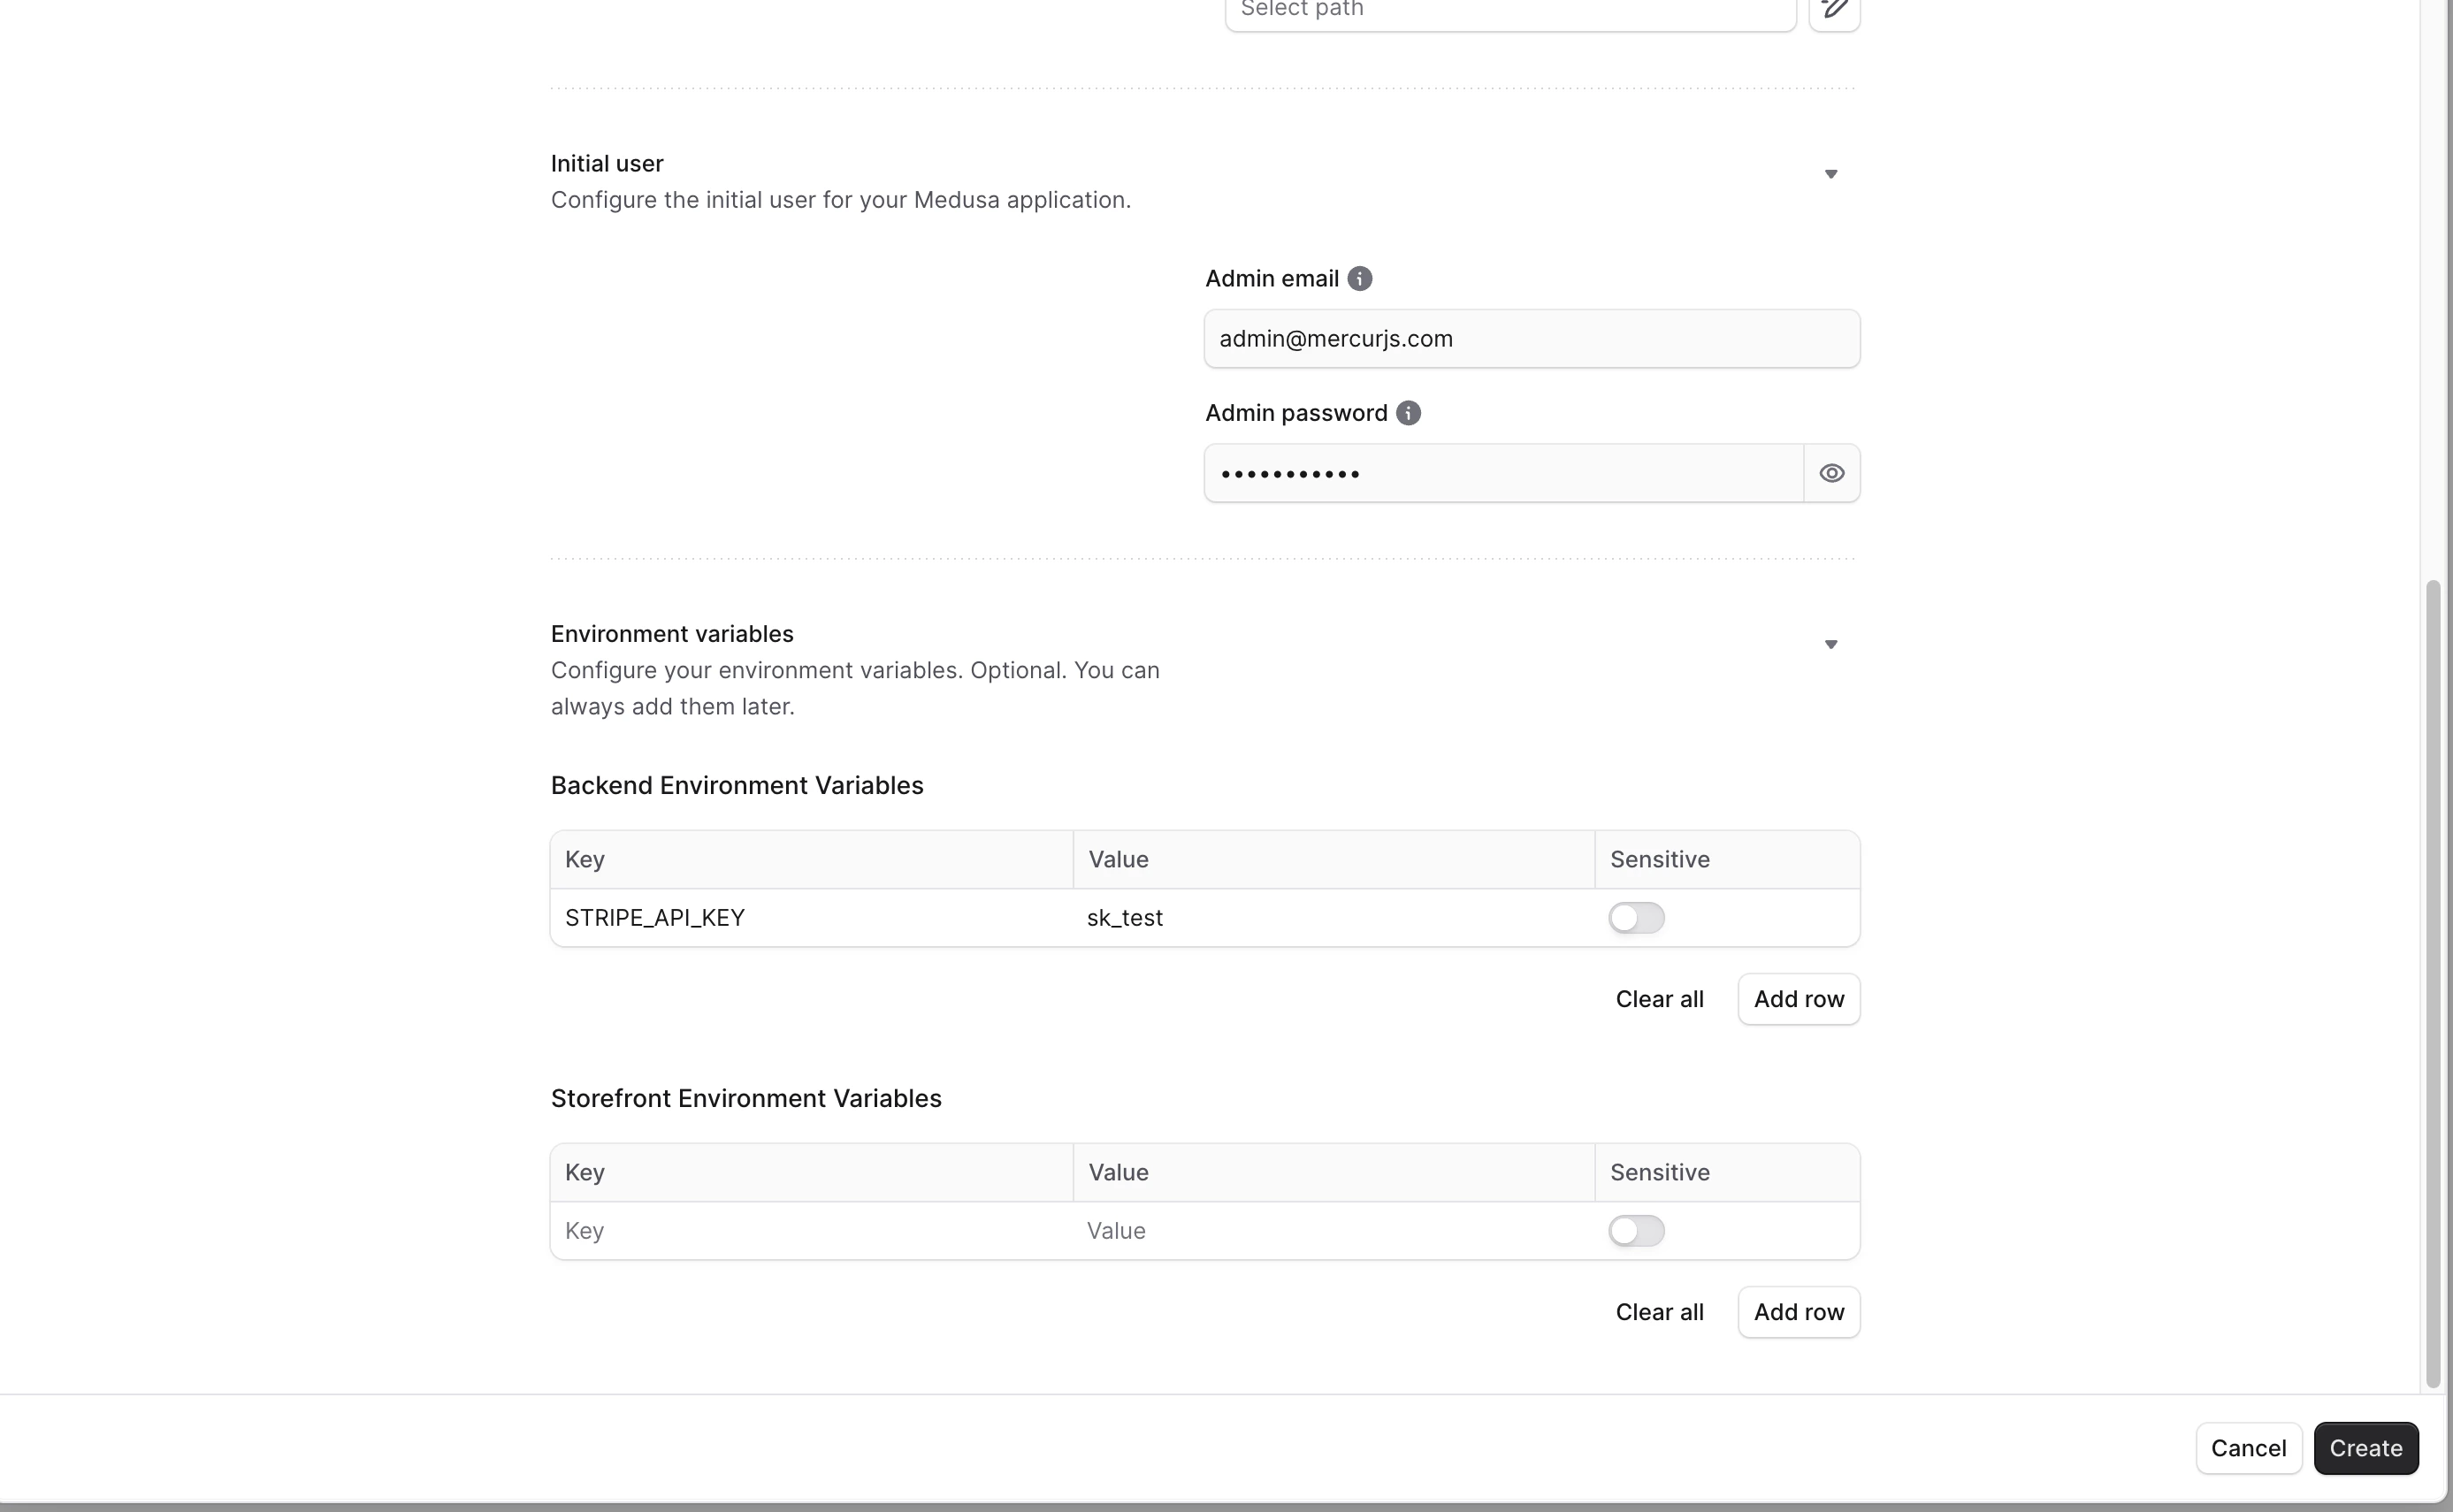
/packages/api. - Initial user — the first admin email and password.
-
Scroll down to Environment variables and add the Backend Environment Variables below. Medusa Cloud provisions the database, Redis, and file storage automatically, so you don’t need to set those.
For Stripe setup, including which keys go where and how to wire both webhooks,
see the Stripe Connect integration
guide.
- Click Create. The build and deploy process will start and can take a few minutes to complete.
After deployment
Once the build succeeds, the backend is available athttps://<your-subdomain>.medusajs.app. Point your separately-deployed admin and vendor panels at this URL via their VITE_MEDUSA_BACKEND_URL (or equivalent) build-time variable, and make sure that URL is included in the backend’s ADMIN_CORS, VENDOR_CORS, STORE_CORS, and AUTH_CORS environment variables.